![]()
Auto-cpufreq, automatic CPU speed & power optimizer, now is at version 2.0.0 release!
This is a popular free open-source tool that monitors Linux laptop’s battery state, CPU usage, temperature and system load. And, automatically switches CPU profile between “power saving” and “performance mode” according to whether power supply is plugged. It also automatically turn on/off CPU turbo boost according to system load.
By releasing 2.0.0 version, it has a graphical GTK3 user interface, making the things easy for beginners! As well, it now has Nix Flake and better NixOS support
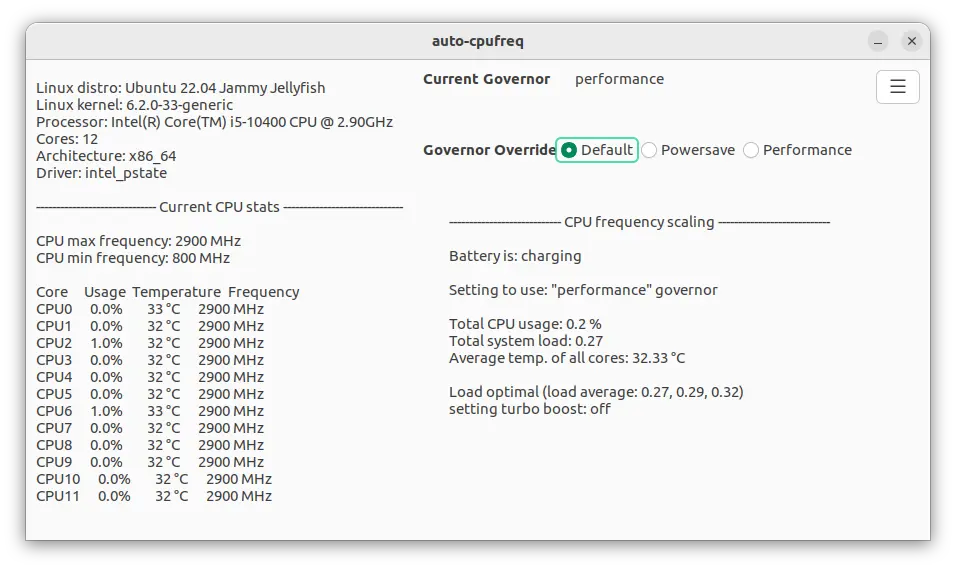
Auto-cpufreq graphical interface.
How to Install Auto-CpuFreq in Ubuntu Linux
NOTE 1: In Ubuntu with default GNOME desktop, there’s already an extension can do similar job. So, you may only need this on Ubuntu flavors such as XUbuntu, Ubuntu MATE, KUbuntu, etc.
NOTE 2: Ubuntu Software (or App Center) includes auto-cpurfreq package, though it’s Snap package that so far does not support GUI, due to sandbox permission issue.
NOTE 3: Installing auto-cpufreq in GNOME Desktop will disable the default power profile daemon.
1. First, download the source code (ZIP or Tar.gz) from github releases page:
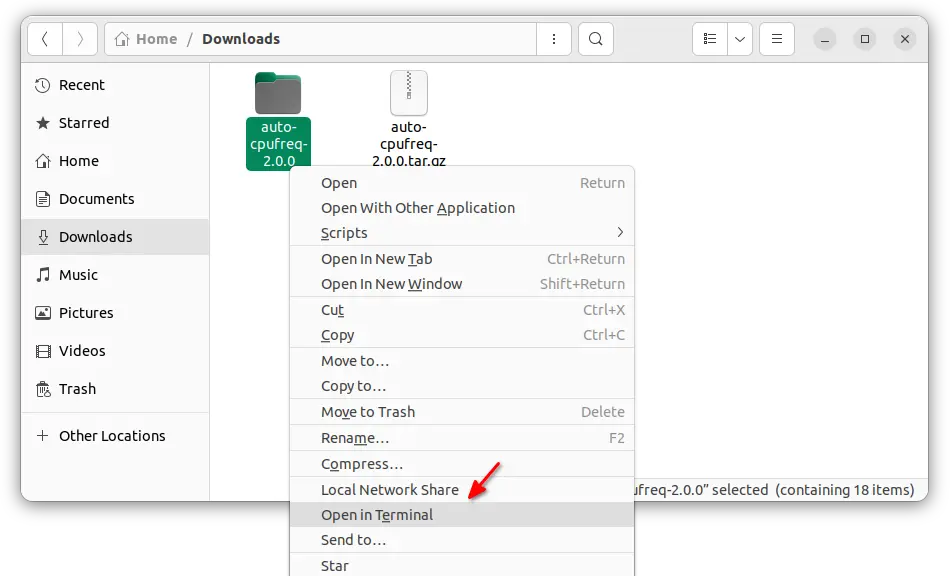
2. After downloading the source, open your “Downloads” folder and extract the tarball. Then, right-click on extracted folder and select “Open in Terminal“.
3. In pop-up terminal window, run command to start the official installer, and answer “i” to start installing the tool.
sudo ./auto-cpufreq-installer
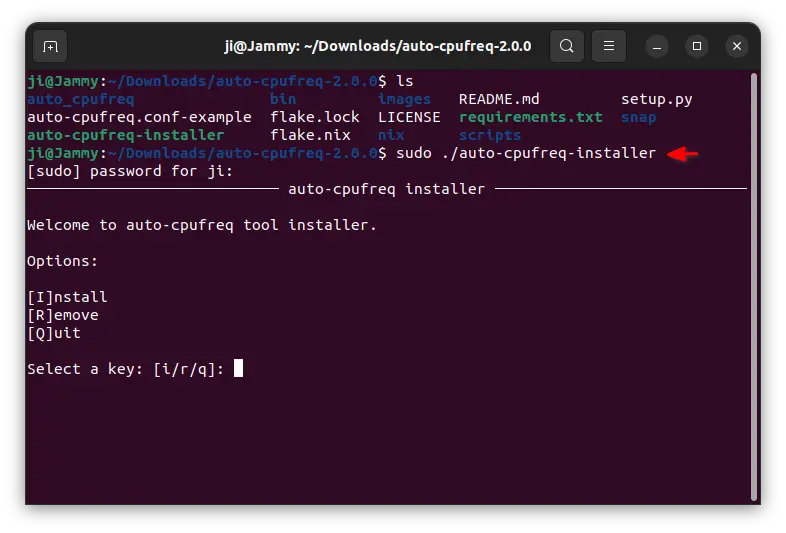
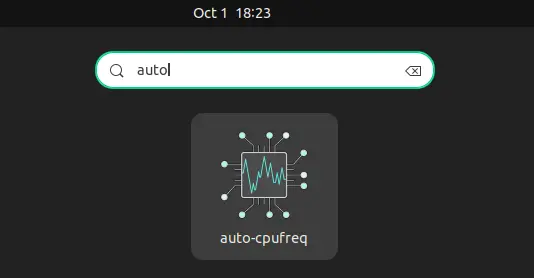
It will automatically install auto-cpufreq as well as download and installing all required dependencies on your system. If everything goes OK, you’ll be able to launch it from applications menu or ‘Activities’ overview.
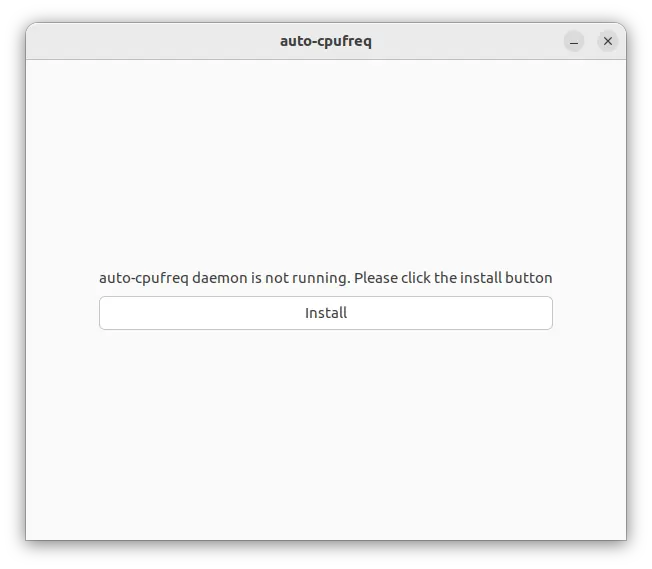
And, first launch will prompt to click install and run the daemon. Just click ‘Install’ and re-launch the tool. Finally, you should be able to see the main UI like the top screenshot shows you.
Then, just leave it there to automatically change power profile depends on power state and CPU load. Or, you can manually switch to Power-save or Performance as you need.
Uninstall Auto-CPUFreq
To remove the tool, simply re-run the previous steps, but answer ‘r‘ while running the installer script in terminal window.